Monday, March 9, 2020
Editing Blog: Putting It All Together
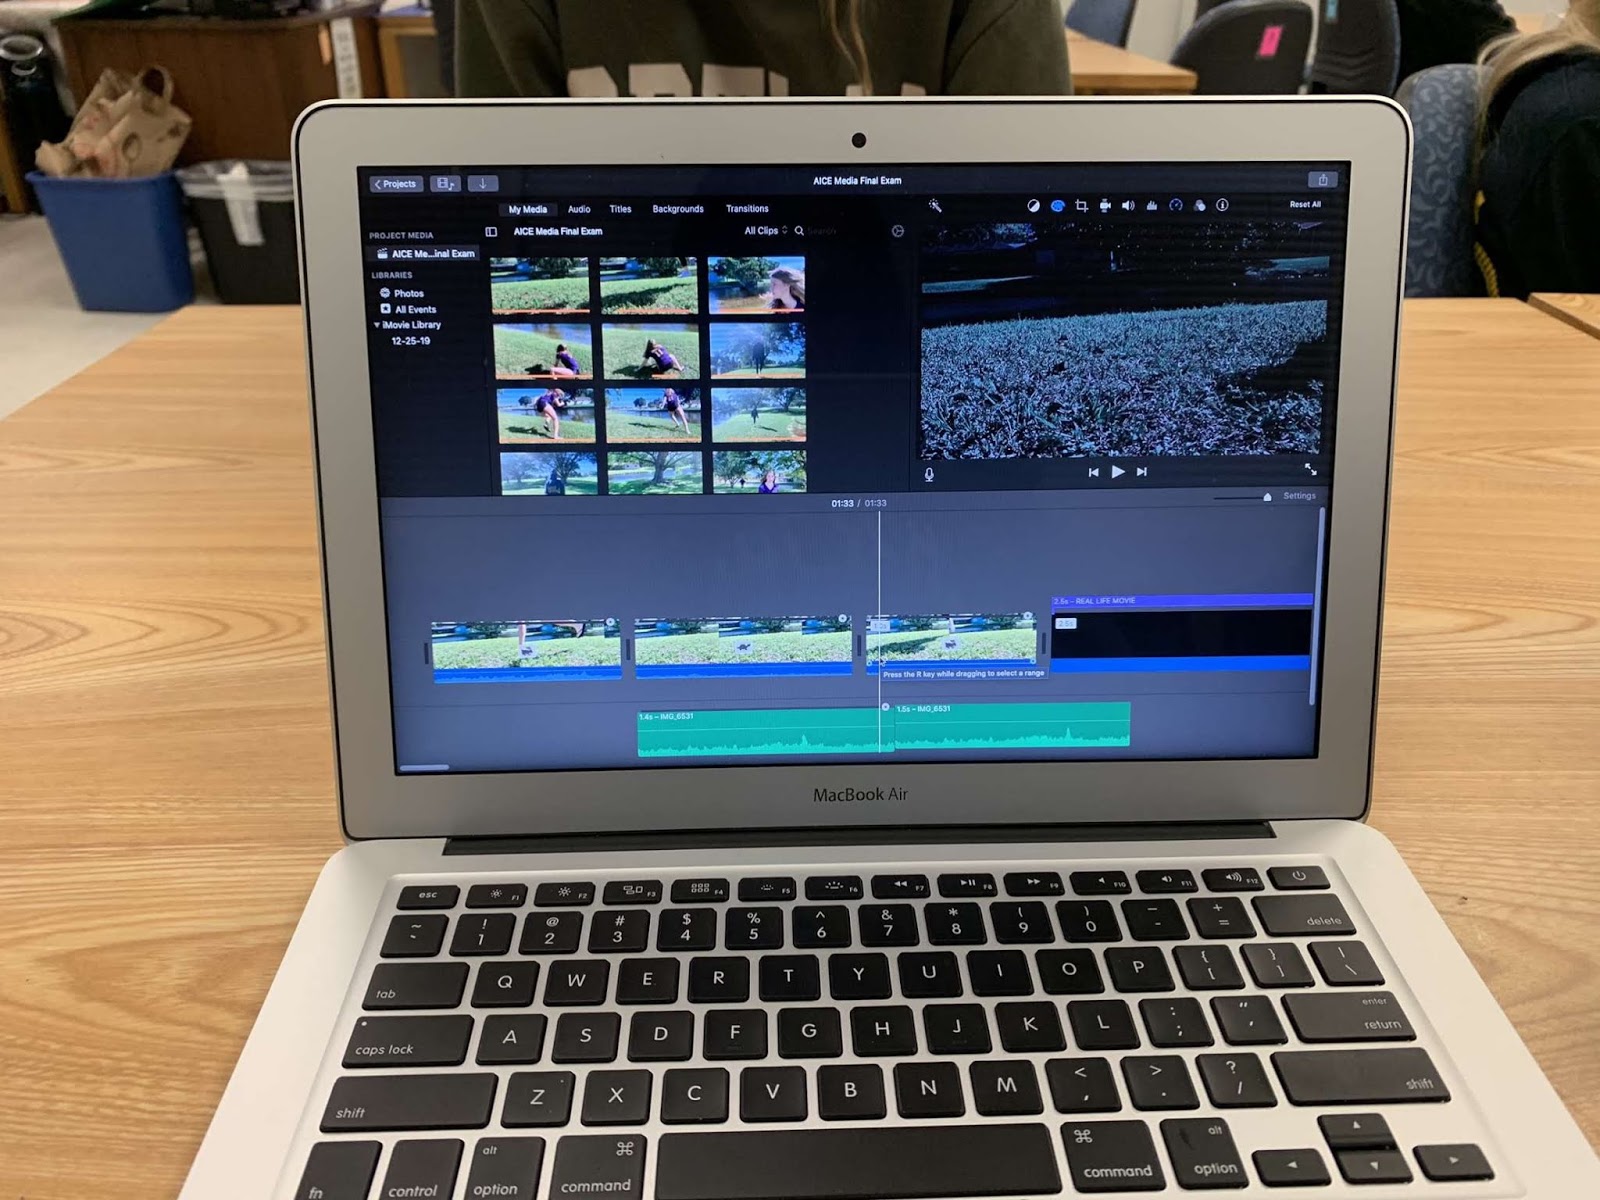
Last week we edited the majority of our footage. We did all the editing on the iMovie. Then, we had to figure out a plan because only one person could edit at a time. So, we decided to do a group FaceTime while one of our group mates edited the footage, while we also did some finishing touches in class. We decided on iMovie because our project does not include a lot of special effects, and iMovie works well for simple editing. So, we had to combine all of our footage for our peer edit. We did this by importing all the footage from one of our group member’s phone onto his computer. This was done by plugging in his phone to the computer, and then dragging the footage into a folder. After this, he went onto iMovie and imported all the footage onto iMovie. On iMovie, he was able to crop certain scenes that had extra acting we did not need. Then, he had to do more specific editing to certain scenes to make the whole project seem more put together. On this, we argued and discussed on FaceTime. We discussed issues like lighting, and order of some scenes. Fortunately, we all had a similar idea of what we wanted it to look like because of the planning we did prior to filming. One thing we took a risk on was dimming the lighting of the forest scenes so it created a more ominous effect. We were unsure of doing this because we did not want it to look too dark to where it was difficult to see and then score badly because of it. However, after reviewing it multiple times we saw that it was still viewable and it created a better mood then the bright sunny lighting. This along with the last scene were our 2 main problems. The other problem was deciding whether to include the last scene or not since it did not entirely match the previous ones. This is because we used a different actor, hoping no one would notice. We decided to include this scene, and overall it turned out a success.
Subscribe to:
Post Comments (Atom)
No comments:
Post a Comment